How do I start sending emails?
In order to start sending email you must have an email provider. Please check our supported email providers before you proceed.
To get started follow these steps -
- Log in to your account.
- Click the Settings option on the navigation towards the left of the screen.
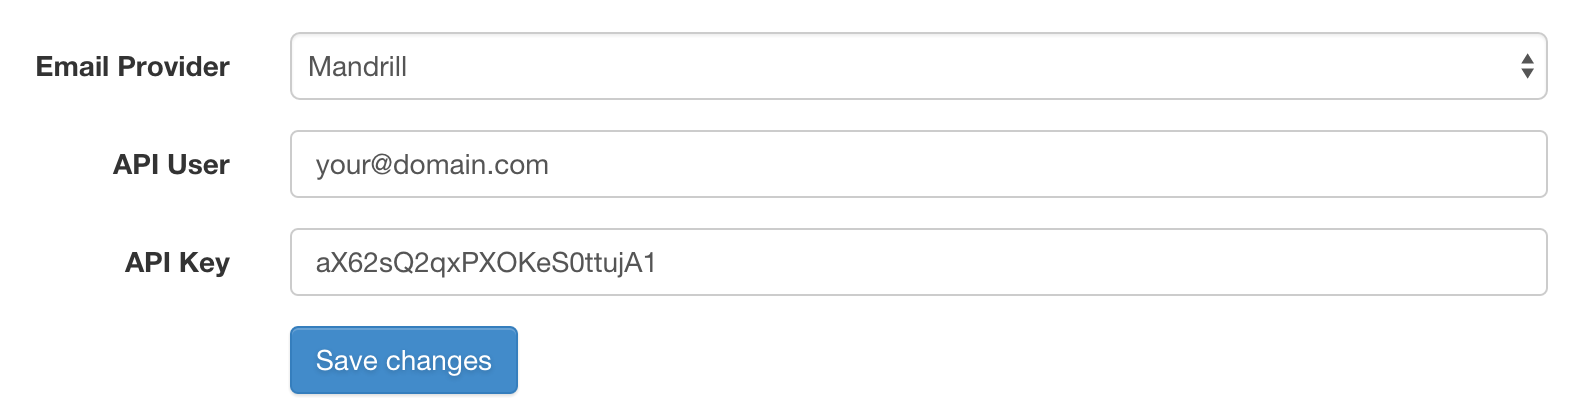
- Locate the Provider Settings section and select your provider from the available options on the dropdown field (Fig. 1)
- Enter your provider's authentication credentials (Username and password or API key).
- Confirm your updated settings by submitting the form.
Once you have setup your email provider the next step is to create a subscriber list and upload your subscribers.
- Click the Lists & Contacts option on the navigation towards the left of the screen.
- Click the Create new list button located towards the top right of the screen.
- Enter the name of your list and submit the form (The name of your list will be used for internal references and not displayed to your subscribers).
- Once the list has been created you will be redirected back to the page with has an overview of al lists.
- Locate the list you just created and click the Import button.
- Select the file you want to upload for your local device and ensure it's a CSV file. If not, you must convert your spreadsheet to CSV format using Excel or Numbers for example.
- Once you have uploaded your file you will be presented with a page which lists the columns of your spreadsheet and beside a dropdown field with several options. Match your column with a corresponding option, for example, the email column should be marked as "Email" from the dropdown.
- Once all columns have been matched submit the form and your contacts will be imported within 30 - 60 seconds (Dependent on the size of your spreadsheet).
Finally, you're ready to send out your first email!
- Click the Campaigns option on the navigation towards the left of the screen.
- Complete the form with all information as accurate as possible and select the subscriber list you just created / imported.
- If you're sending a plain text email simply type the content of your email within the text area. Alternatively, if you are using a template builder or using a template built with HTML/CSS simply paste the code of your template within this same field.
- Confirm the delivery of the campaign by submitting the form.
Fig 1 - Email Provider Settings